
The Sod Installation Process in Florida: What Happens on Install Day in Tampa Bay
The sod installation process in Florida, behind the scenes: what our Tampa Bay crew does on install day and how to spot a job done right.
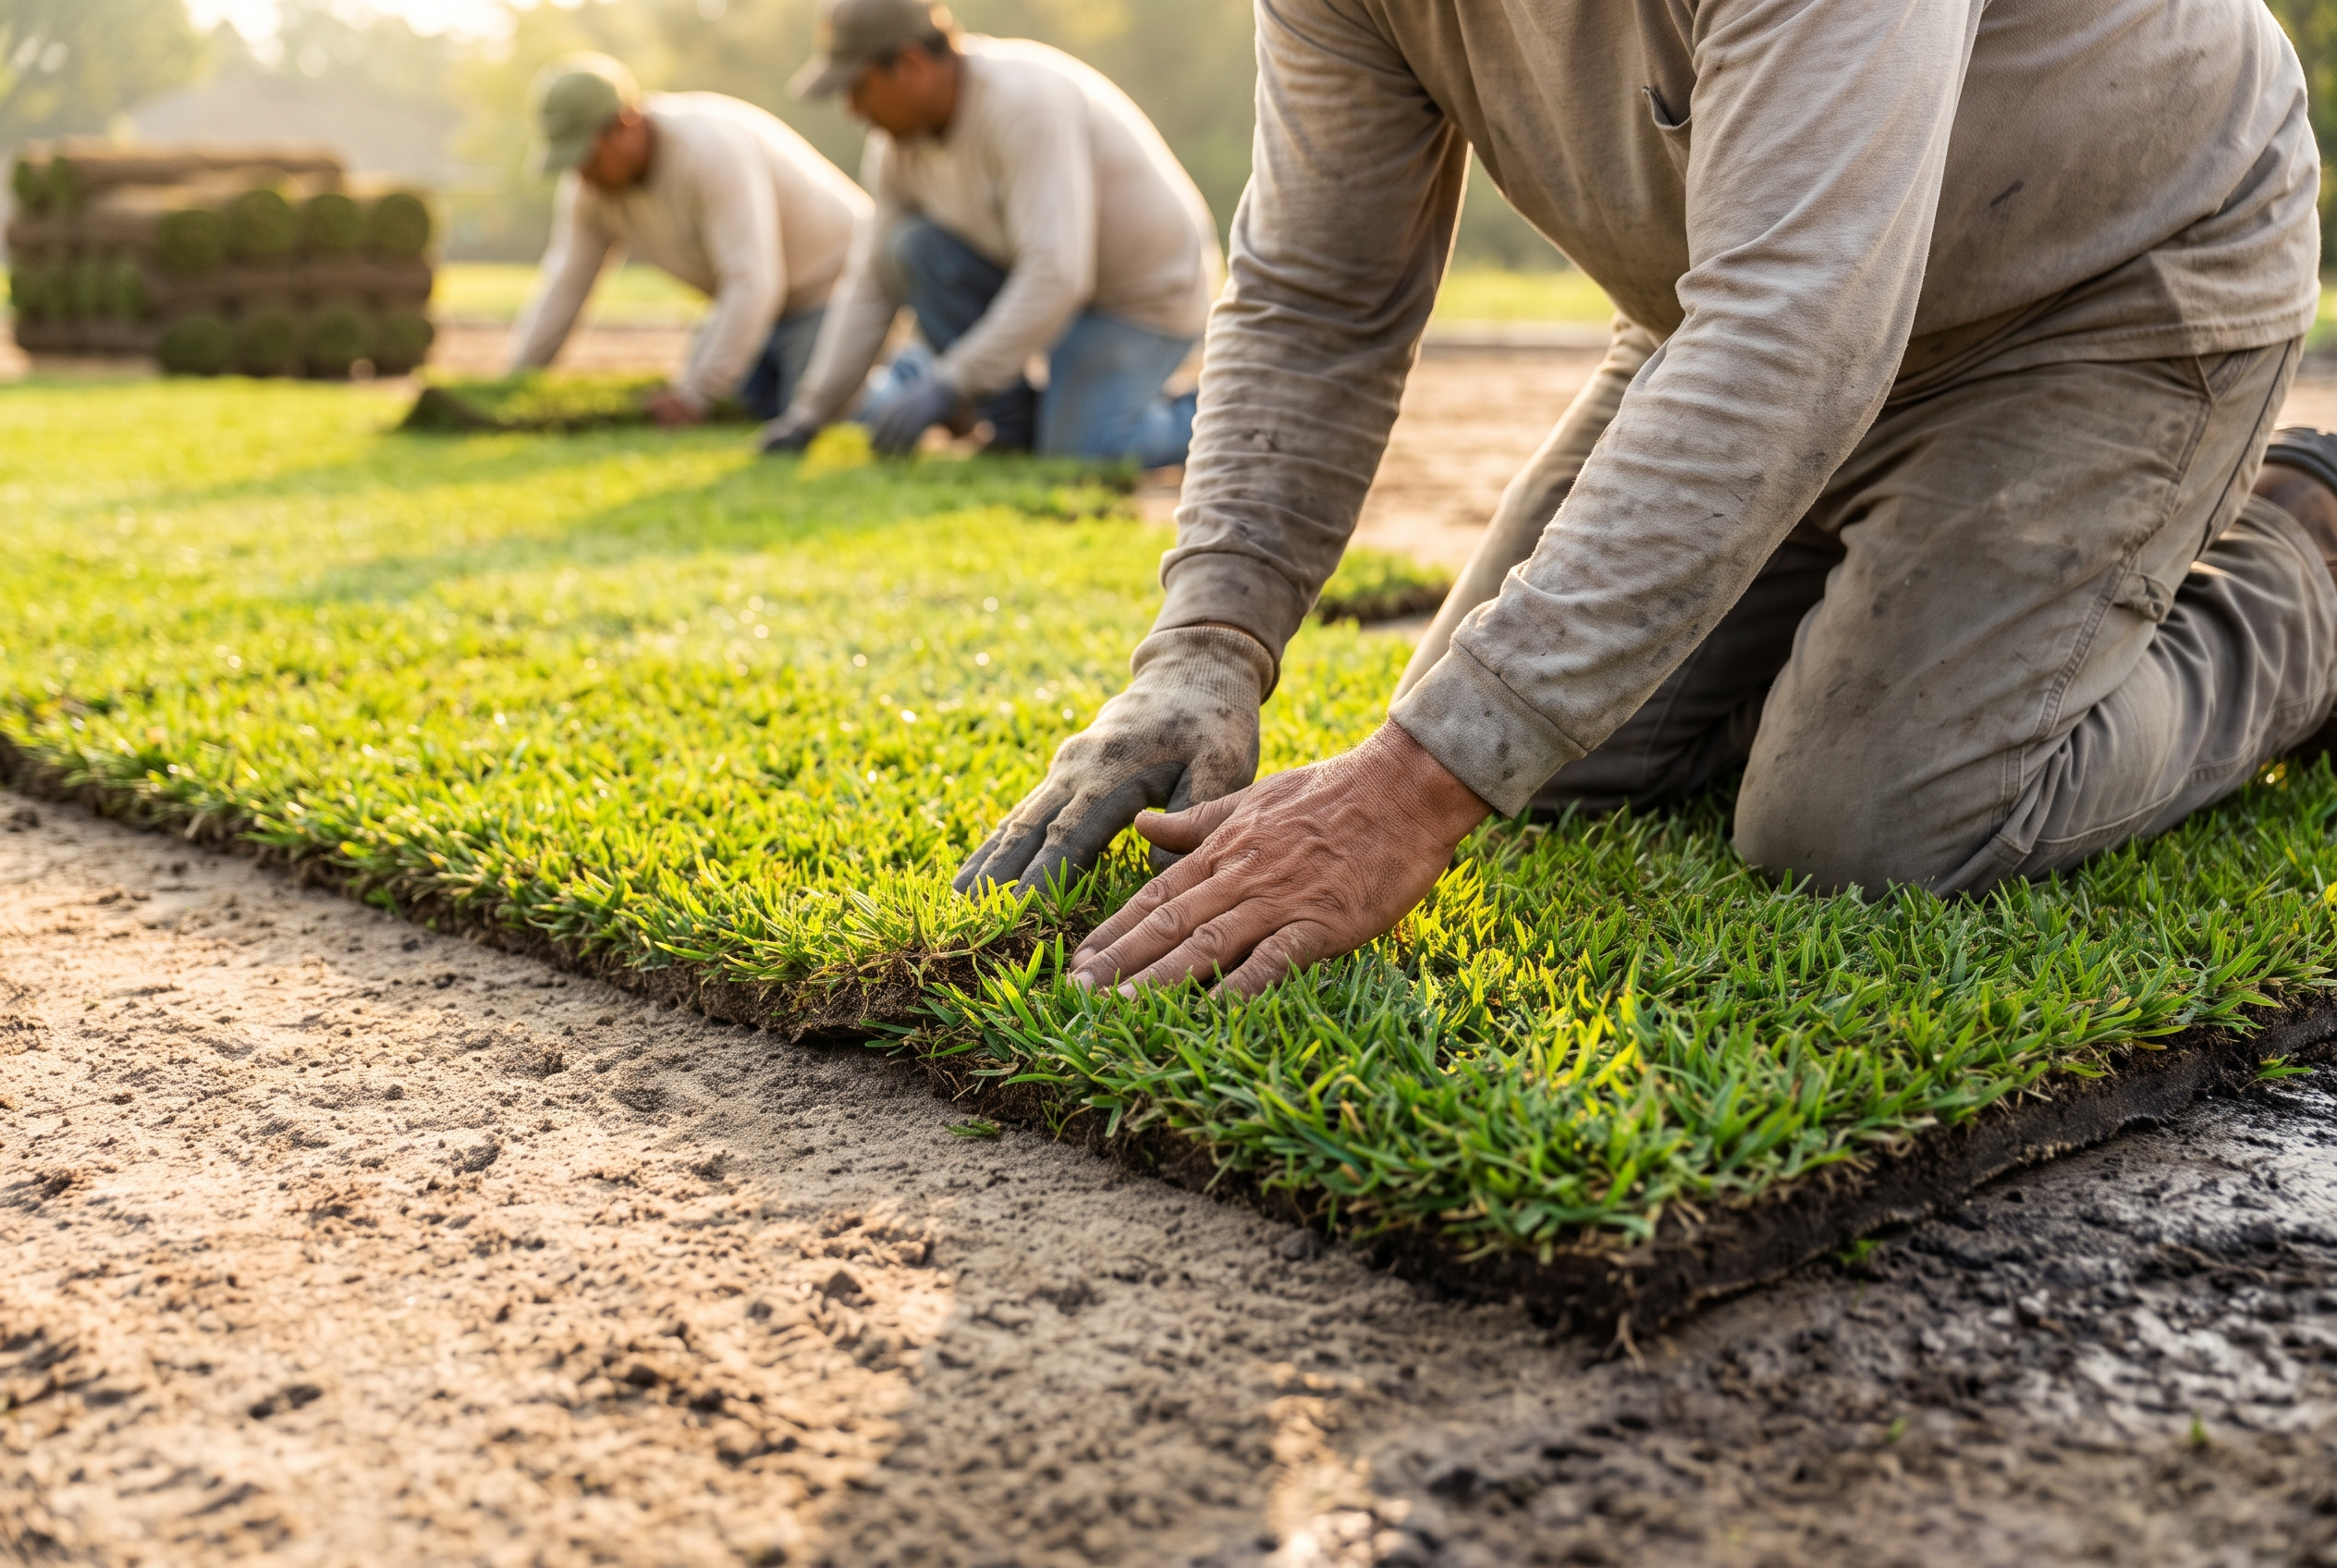
The sod installation process in Florida runs in a fixed order for a reason: clear the old lawn, protect the sprinklers, hand-grade the dirt so water drains away from the house, lay the sod tight with staggered seams, roll it flat to kill air pockets, then clean up and hand you a watering plan. On most residential lots across Riverview, Brandon, and Valrico, our crew moves through that whole sequence in a single day. This guide walks you through exactly what you will see from the driveway, so nothing on install morning is a surprise.
We wrote it because most homeowners have booked a crew before but never watched one work start to finish. Knowing the steps does two things: it tells you how to prepare the yard beforehand, and it teaches you what a job done right actually looks like when the last pallet is empty.
What to have ready before we arrive
The single biggest thing you can do to keep install day on schedule is give the crew a clear, accessible yard. We ask every customer for the same short list:
- Mark your irrigation heads and shallow lines if you know where they are, and flag any low-voltage lighting or invisible pet-fence wire.
- Clear the path from the street to the work area so a pallet jack can move, and move cars out of the driveway.
- Confirm access to a working water source, since the new sod needs a deep soak the moment it is down.
- Keep pets and kids inside during the install; crews are moving pallets and equipment for hours.
If you are replacing an existing lawn, you do not need to kill it first. We handle removal as step one. What helps most is simply telling your project manager about the trouble spots you already know: the corner that stays soggy, the strip that never greens up, the slope that sends water toward the slab.
The Florida sod installation process, step by step
Here is the real sequence our crews run, in order, on a typical Tampa Bay lot.
Step one: strip the old material. New sod needs to root into soil, not sit on top of dead grass, weeds, or thatch. We remove the existing material down to bare dirt so the new roots meet clean ground. Skipping this is one of the most common reasons a fresh lawn fails to knit down. UF/IFAS is blunt about the prep stage: proper soil preparation before planting is critical to how quickly turf establishes and how much maintenance it needs afterward (UF/IFAS ENH02/LH012).
Step two: locate and protect the sprinklers. Before any grading blade touches the ground, we find the irrigation heads and mark them. A careless crew shears heads off during grading and leaves you with a repair bill and dry patches; we work around them and set the finished grade so heads sit at the right height once the sod is down.
Step three: hand-grade for drainage. This is the step that quietly decides whether your lawn thrives or holds water for years. We grade the soil so it slopes away from the house and hard surfaces. UF/IFAS recommends a fall of roughly 1 to 2 percent away from structures, on the order of a half-foot to a foot of drop over 50 feet, and reminds installers to account for the thickness of the sod itself when setting final grade (UF/IFAS ENH02/LH012). We do this by hand across the yards we walk because a rake reads the low spots a machine rolls right over. Get the grade right and rain sheets off toward the swale instead of pooling against your foundation.
Step four: lay the sod tight, with staggered seams. Now the fresh-cut squares go down. We install sand-bottom sod cut the same morning, and it goes down in a brick-like, staggered pattern so the joints between pieces do not line up row to row. The pieces are butted tight, edge to edge, with no gaps and no overlaps. Tight seams matter because open joints dry out first, and dry edges are where weeds and browning start. Timing matters too: sod is perishable, and pallets left sitting in Florida heat can cook from the inside, which is why UF/IFAS and every reputable grower press installers to lay it within about 24 hours of harvest (UF/IFAS ENH03/LH013). Cutting fresh right before we install is how we sidestep that risk entirely.
Step five: roll out the air pockets. Once the sod is laid, we roll it. Rolling presses each piece firmly into the graded soil so the roots make direct contact with the ground and no air is trapped underneath. Air pockets are silent killers: a square that is not seated dries out, its roots never reach down, and it browns while everything around it greens up. UF/IFAS specifically calls for tamping or rolling to remove air pockets so the new roots do not dry out during establishment (UF/IFAS ENH03/LH013).
Step six: clean up and the watering handoff. We haul off the old material, sweep the hard surfaces, and stack the empty pallets. Then, before we leave, your project manager walks the finished lawn with you and hands off the one thing that keeps it alive: the water plan.
How long does sod installation take?
For a typical residential lot in our service area, the full sequence above fits inside a single day. Larger properties, heavy removal, or complicated grading can push into a second day, and your project manager will tell you that up front rather than surprise you with it. The variables that stretch the clock are the removal (an overgrown or root-bound lawn takes longer to strip) and the grading (a yard with real drainage problems needs more shaping than one that is already close). The laying and rolling itself moves quickly once the dirt is right.
That single-day rhythm is a real advantage of professional sod installation in Tampa Bay over seeding, where you wait weeks for germination and months for a lawn you can walk on. With sod, you leave for work with dirt and come home to grass.
Install day looks the same in any season
One question we field constantly is whether install should wait for a particular time of year. It should not. Tampa Bay sits in USDA hardiness zones 9b to 10a, and Central Florida carries a growing season of roughly 330 days (USDA Plant Hardiness Zone Map). Our warm-season grasses grow actively through the warm months and simply slow down, without dying back, when the soil cools. That long, mild season means the install steps and the crew’s day look the same whether you book in February or July.
What shifts with the calendar is not the install; it is the aftercare. A summer install roots into warm, storm-fed soil, so you lean on the rain and watch for overwatering, the risk we break down in our guide to Florida’s rainy season. A cooler-month install roots more slowly and asks for a bit more patience. Either way, fresh sod can go down any month across Hillsborough, Manatee, and Pinellas.
What a job done right looks like
When the crew pulls out, walk your new lawn and look for the signals we look for:
- Seams are tight and staggered, not gapped or lined up in long straight rows.
- The surface is even underfoot with no soft, spongy spots that give away trapped air.
- Water runs away from the house, not toward it, when you run the first soak.
- Sprinkler heads clear the sod and spray freely instead of firing into a wall of grass.
- The hard surfaces are clean and the old material is gone, not piled at the curb for you to deal with.
Then start watering immediately. Fresh sod needs to be soaked the day it is laid, saturating the sod and the top few inches of soil beneath it, then watered often through the first couple of weeks while the roots knit down (UF/IFAS ENH03/LH013). Once those roots take hold, you shift to the deep, infrequent schedule we lay out in our guide to watering established sod in Florida. That handoff, from establishment watering to a long-term rhythm, is where a lot of new lawns get lost, so we make sure you leave install day with both plans in hand.
None of this is complicated once you have seen it done, but the order and the care at each step are what separate a lawn that roots deep from one that limps through its first summer. If you are planning a new lawn anywhere across Valrico, Riverview, Apollo Beach, or the wider Tampa Bay area and want to know exactly how your install day would run, our team is glad to walk your yard and map it out with you.

Fresh-cut sod installation, replacement, and delivery in the Tampa Bay area.
Continue reading
7 Sod Installation Mistakes Tampa Bay Homeowners Make (And How to Avoid Them)
The 7 sod installation mistakes Florida homeowners make most, what each one looks like weeks later, and how our Tampa Bay crews avoid every one.
DIY Sod Installation vs. Hiring a Pro in Tampa Bay: What Florida Homeowners Should Really Know
DIY or professional sod installation in Tampa Bay? Here is the real cost, the grower's own warning, and the three prep steps that decide if sod lives.
Soil Preparation for Sod Installation in Florida: Why Grading and Prep Make or Break Your Lawn
Soil preparation for sod installation in Florida decides whether new sod roots or fails. Here is the grading and prep work our crews do before the first pallet.